Hardware Accelerated GPU Scheduling when enabled offers effective GPU scheduling between apps by decreasing latency. As a result, offer better video output performance. To take advantage of this amazing setting, you need a PC whose GPU support hardware acceleration coupled with graphic drivers with support of WDDM 2.7 or above. In case, you have the device that fulfills the requirement to turn on Hardware Acceleration GPU Scheduling, then here’s how you can enable it in Windows 11
Turn On Or Off Hardware Accelerated GPU Scheduling Using Settings
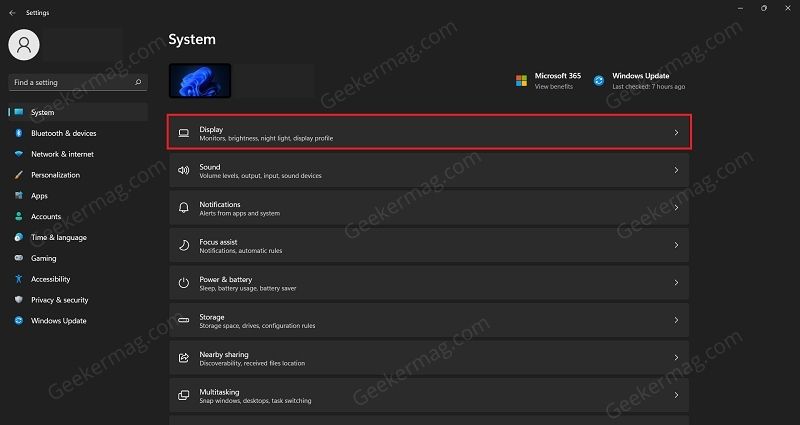
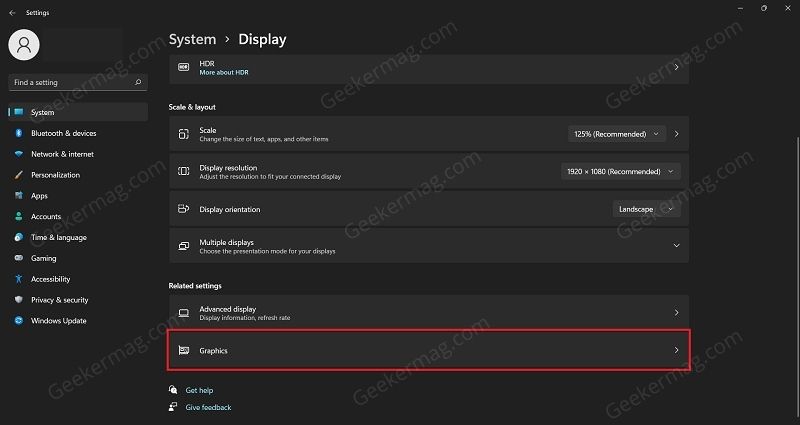
Press the Windows + I key combo to open the Settings app on your PC. In the Settings app switch to the System tab on the left and the select Display option on the right. Here, scroll down to the Related settings section and under it, click on Graphics. On the next window, click on the Change default graphics settings option under the Default settings. Here, turn on the option that reads “Hardware-accelerated GPU Scheduling” and you’re done. On the other hand, if you want to turn off hardware-accelerated GPU scheduling, then move the slider to Off side. That’s all about this blog post. Why don’t you try Hardware Accelerated GPU Scheduling in Windows 11 and let us know what performance boost you experience after turning on this setting.