Windows 10 is the recent Windows operating system launched by Microsoft. It comes with lots of fresh features, new settings, and services accompanied with the ones available in the earlier versions of Windows. There are lots of settings and services available in the Windows 10 that continuously works in the background, but users are not aware of them. One out of them is Superfetch service. One out of them is Superfetch service in Windows 10. In this post, I decided to answer every question which users have in mind related to Superfetch. So if you’re one out of them, then I recommend don’t miss to check this post.
What is Superfetch in Windows 10?
Superfetch is one out of the Windows 10 background services that cache data. Its fantastic technology preloads regularly used apps into the memory to decrease their load times. As a result, this service helps in launching some application quickly. Superfetch service is based on the prefetcher function available in the Windows XP. The primary two goals of this service is to reduce boot time and to make sure that application you use more frequently loads up quickly. Even the service track your account activities and adapt itself according to your usage patterns. I hope you finally come to know about What is Superfetch in Windows 10? Why don’t you check out some other things related to Superfetch?
Superfetch Benefits
One of the significant advantages of the Superfetch feature is that it speeds up the overall all speed of the system as it helps Windows OS in retrieving the data from the hard disk in advance.
Superfetch Drawback
Superfetch service also has one downside. It does not work really well for gaming and a system loaded with solid state drive (alternative to hard disk) as all the extra disk writing and reading can decrease the life of your drive.
Should I Disable Superfetch?
Even in some cases, the Superfetch service is slowing down the performance of the PC. In this situation, it is a good idea to disable the service and free up some RAM to boost the overall performance of the PC.
How to Disable Superfetch in Windows 10
The process of disabling Superfetch service is straightforward. You can achieve this thing just by making few clicks. Here is what you need to do:
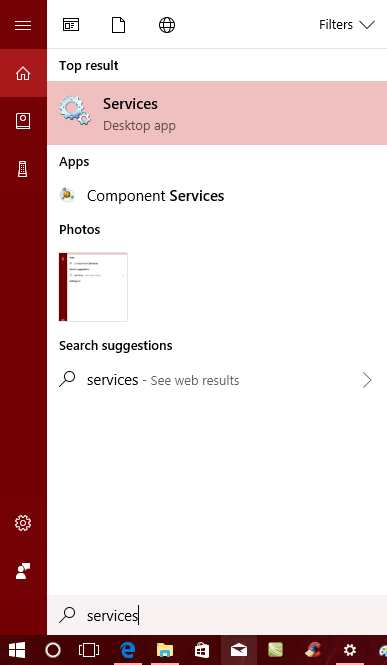
In Windows 10 Start menu search bar type Services and when the desktop app for the same appear in the search result. Click to open it.
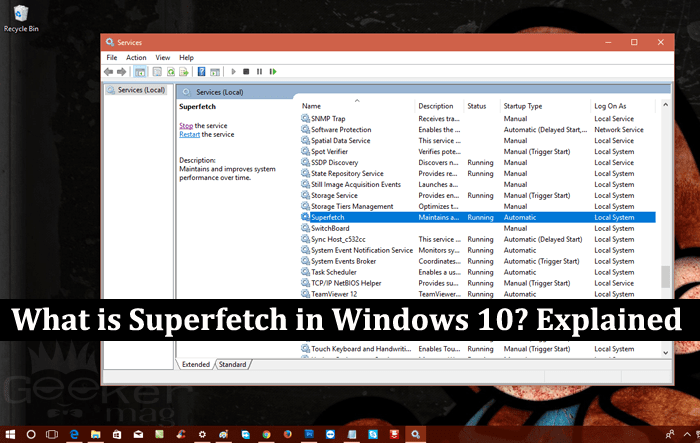
In the Services window, you will find out the list of all the services running in the background; scroll down until you find the service which reads “Superfetch.”
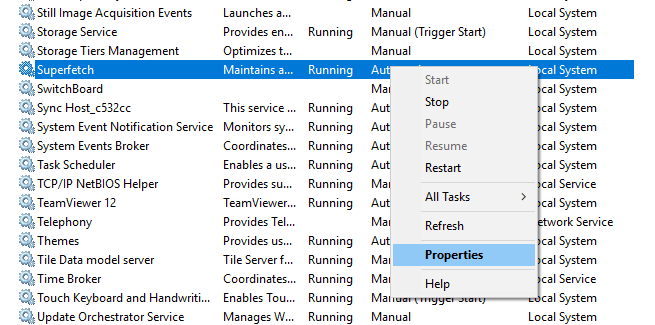
Make a right click on it and from the context menu select Stop. This will stop the Superfetch service until you reboot your system again. 3. In case, you want to disable Superfetch service permanently, then select Properties from the context menu available in Step 2.
- In Superfetch properties window, you need to change Startup type from Automatic to Disable. This will permanently disable the Superfetch service until you enable it or if you perform a clean installation of the System.
Note: Sometimes when you install the latest build via Windows Update the feature is enabled autoamtically even if you have disabled it manually.
How to Enable Superfetch Service in Windows 10
By default, the Superfetch Service is enabled in Windows 10. In case, due to some reason, it is disabled and not working, then you need: If you have manually disabled it, then head over to Superfetch properties and change the Start type from Disabled to Automatic. That’s it! I hope you find my blog post about What is Superfetch in Windows 10? useful. If you have any query related to Superfetch drop in the comment. I will try to help you out.